

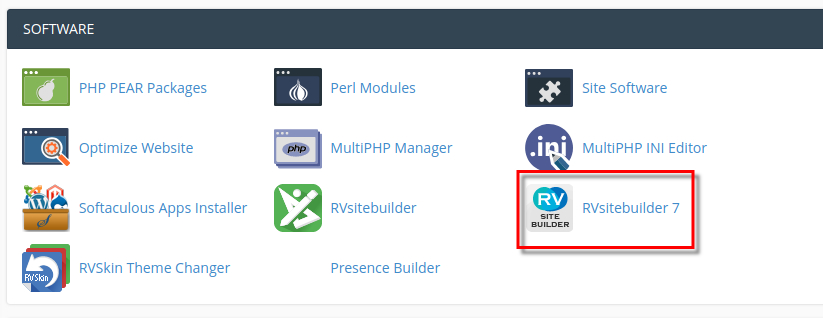
Once your host provider installed RVsitebuilder new version, a new RVsitebuilder icon will be displayed next to the current icon. If you can't see this icon in your control panel, please contact your host provider to install RVsitebuilder for you.
If you see the new icon.. Let's Start!
1. After logged in to your control panel, then select RVsitebuilder 7 icon.
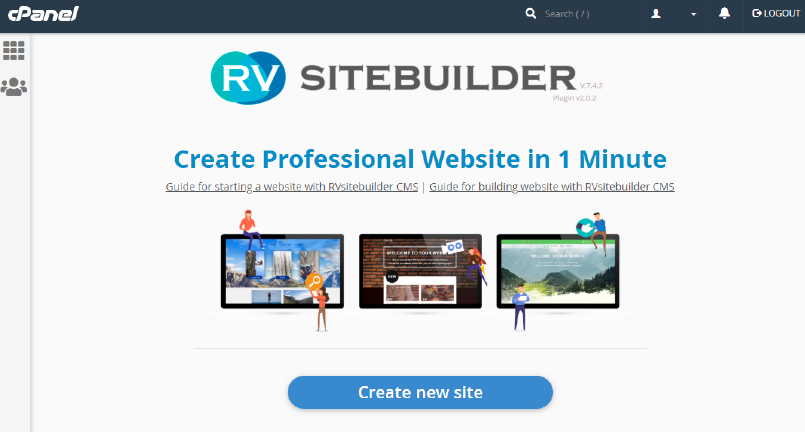
2. Click "Create New Site
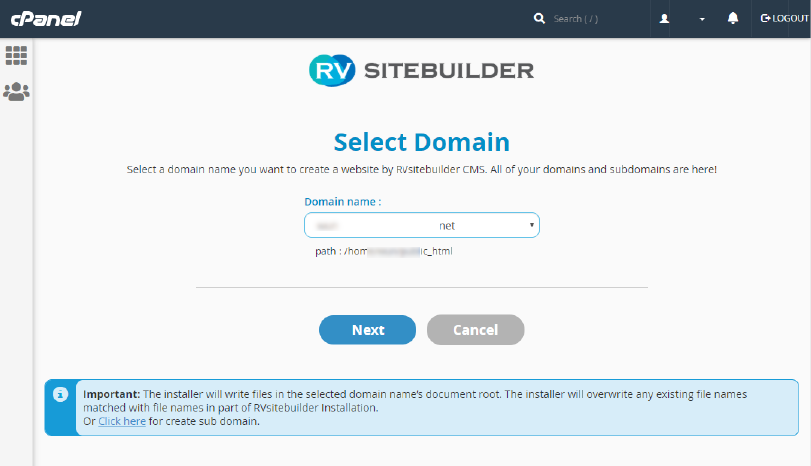
3. Select your Domain from drop-down and click "Next"
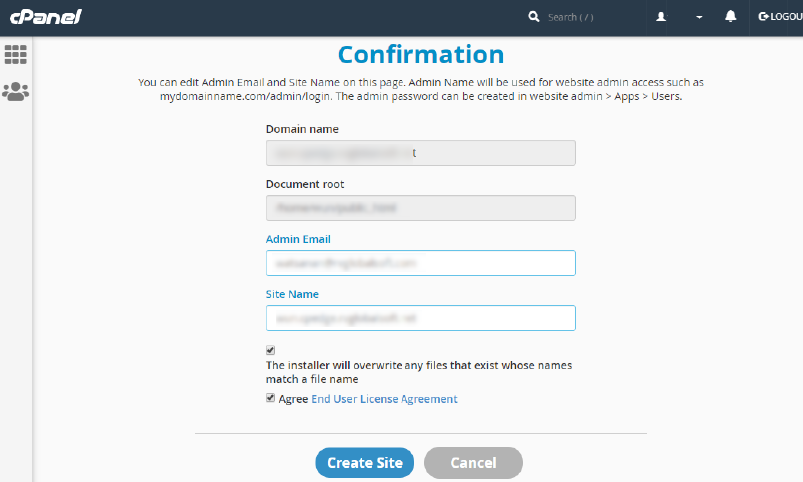
4. Recheck your details, add Admin email and don't forget to checkbox for the installer condition and License Agreement.
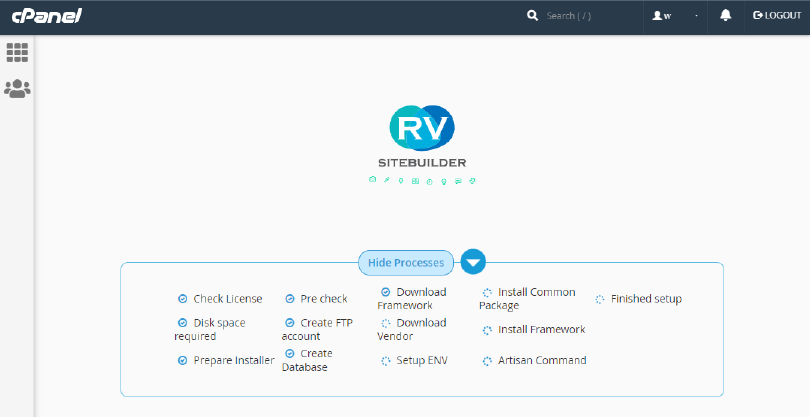
5. Waiting for RVsitebuilder 7 creates itself in your domain name.
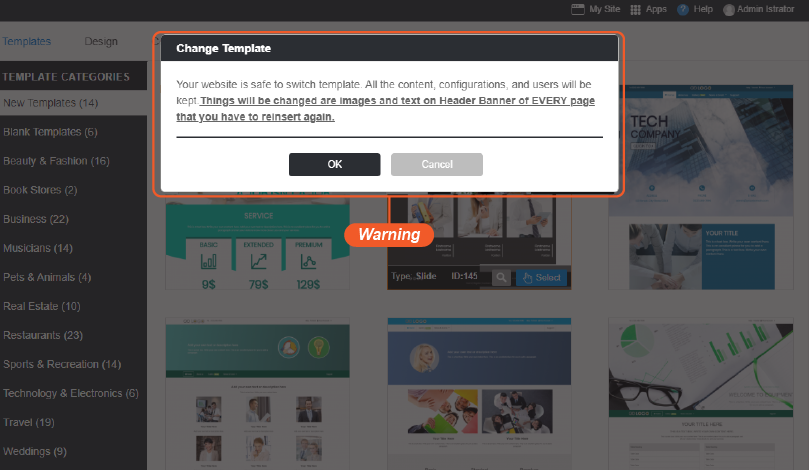
6. Choose your website template
Start your website beautiful templates. Keep or customize as you like.
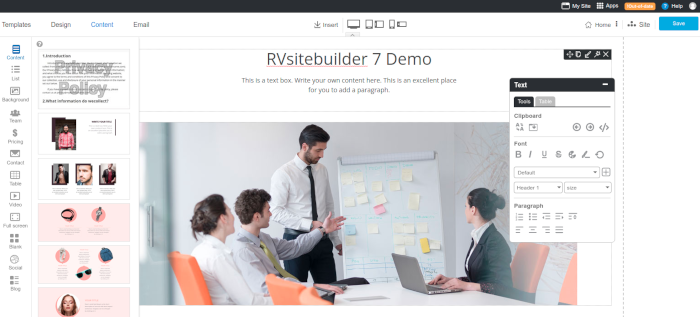
6. Edit in Editor area
Create a website easy way just to drag and drop elements then edit it as you want.
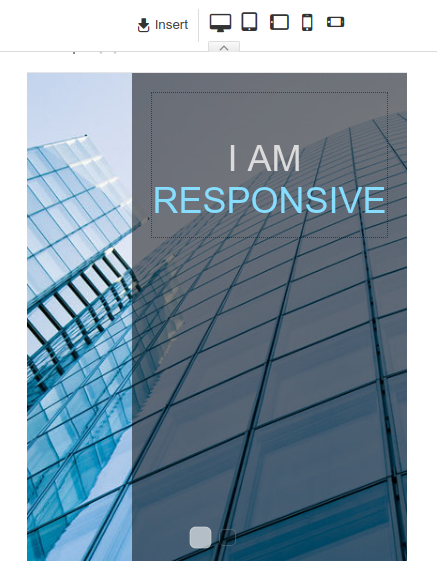
7. Intelligent Preview Mode
Preview your website in real time editing on 5 device screens.
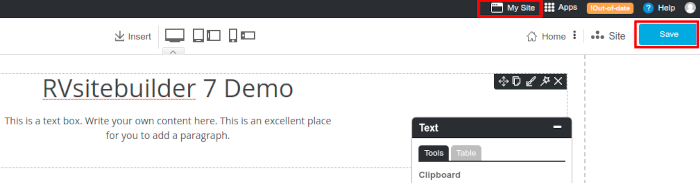
8. Save & See
No longer PUBLISH BUTTON. It's a new save system in a single Save button that brings your website online in a blink!
Admin