

Easy sample of how to add an image
In Step 3 -> WYSIWYG editor
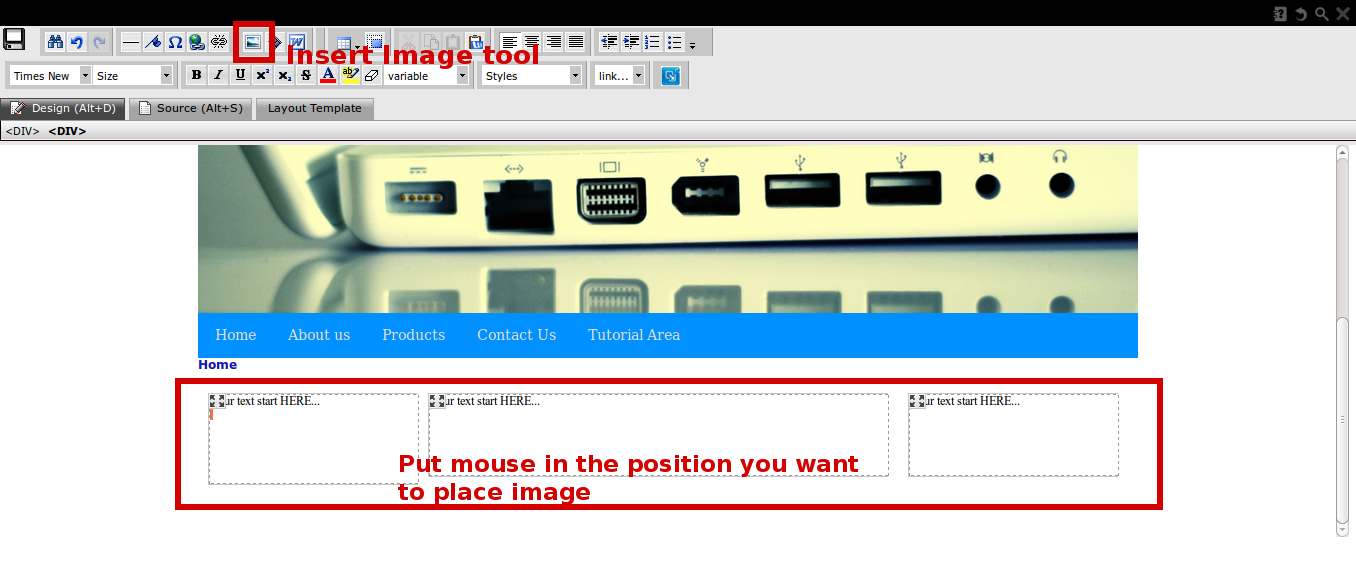
Choose position you want to place the image (put mouse in page layout), then click at “Insert/Edit Image” at toolbar.
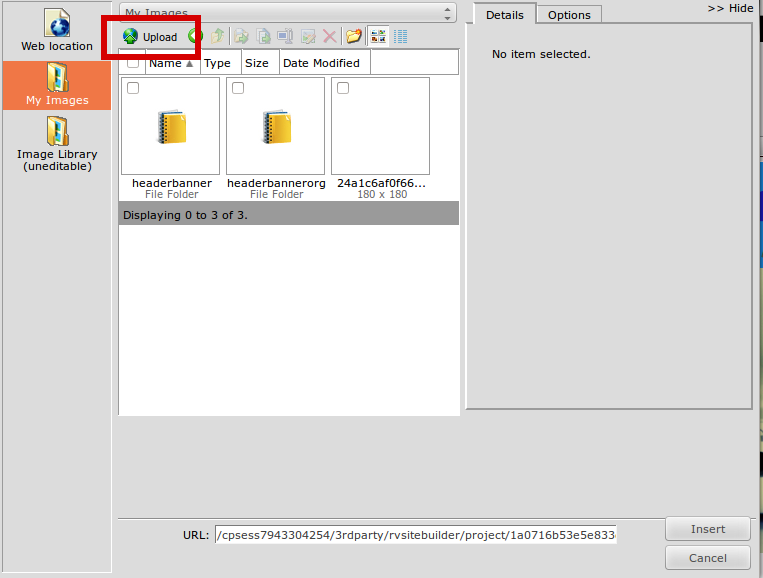
The upload window will appear.
In case (this sample case) you want to upload your own image, see “My Images” -> double click on “Local File” -> “Upload” symbol at the top toolbar.
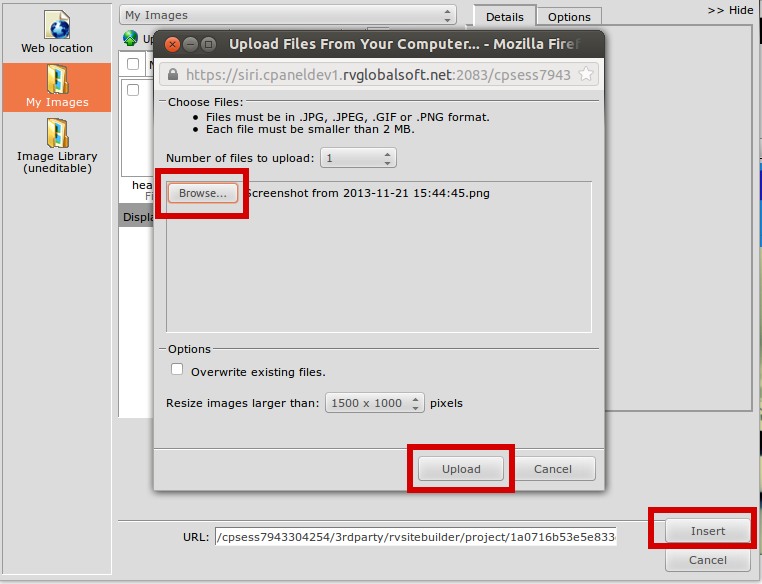
Click “Browse” to upload image, and “Insert”
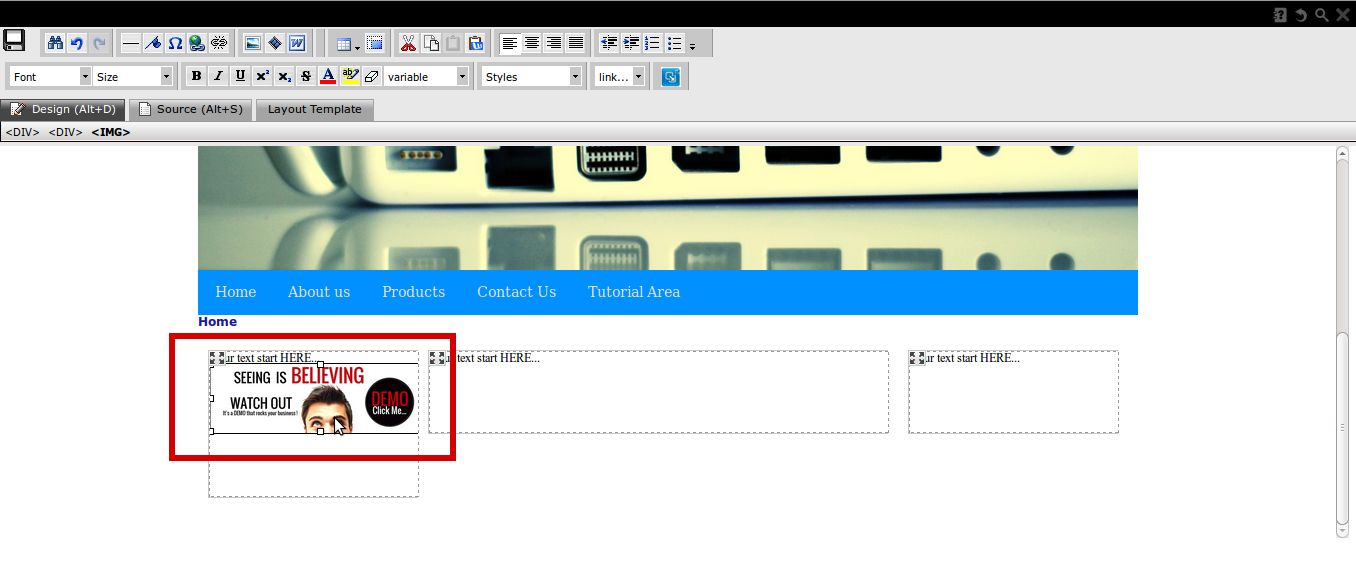
Your inserted image will appear in the position you choose from the first place.
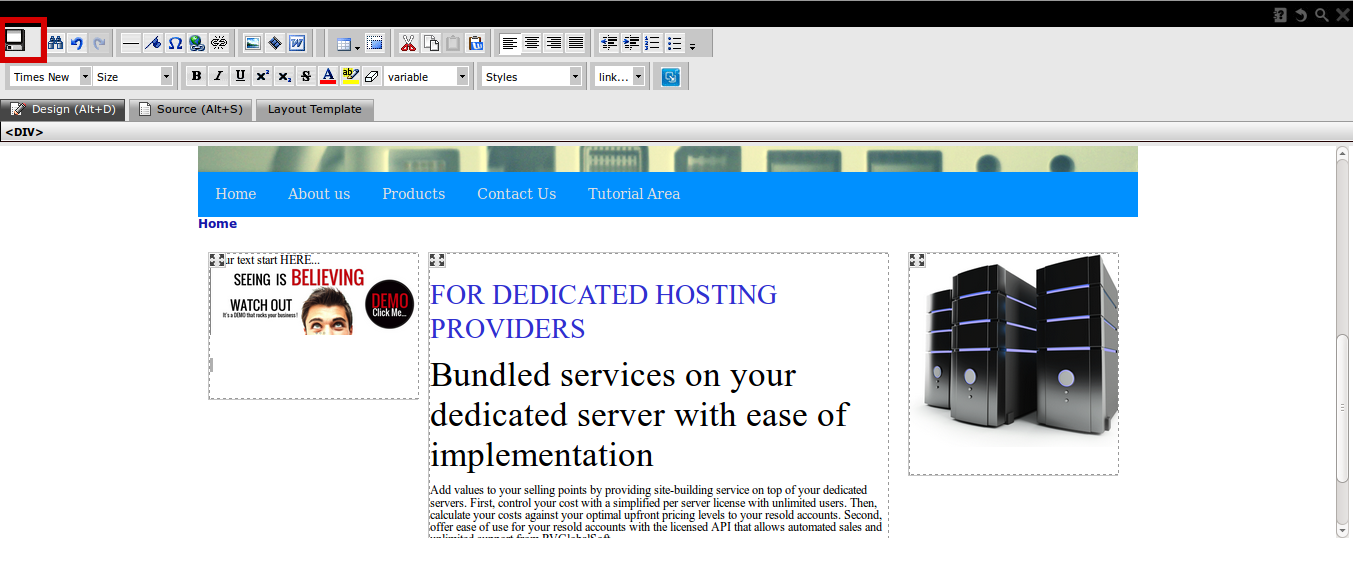
Do not forget to “Save” what you did at the “Save” symbol.
**To make your uploaded image display fine on Mobile Mode (Responsive version).
Please make your images with “width” to 100%.
How?
Go to Step 3, and click the page editor of the page you have inserted image or table.
1. Once the page editor is opened, please click "Edit HTML" to edit code.
2. Once the HTML Editor is opened, please search for "width"
3. Change the current width value to "100%" for EVERY width appears in this page.
4. Save it.
To reposition your uploaded images, please use “Text and Image Positions” tool.

Admin